
I deal with a lot of banged up, niggle-ridden individuals on an almost day-to-day basis. A lot of the time, it’s not so much specific injuries that are causing them to be tight (or in pain, for that matter), but rather the years and years of habits, movement and posture that have mixed together, concocting a sweet recipe they would rather not deal with.
Without generalizing an entire planet and/or the people I speak to, I find that there seems to be a lot of misconception when it comes to dealing with these tight, niggling, or painful areas, with some of the more common ones including stretching, applying ice or heat, or opting for weekly massages or chiropractic visits.
While all certainly having their place in the world of tightness, they are not always the be-all and end-all to actually rectifying areas of your body for the long term. If they were, then how would it be possible for those areas to always need dealing with?
These approaches, much like the overuse of medication, mostly act as a mask, covering the reality of what is truly going on, what the issue truly is. Which is almost equivalent to smashing your hand with a hammer during the day, only to pop a pill at night, before recommencing the beating the next.
The Solution
Taking the medication, like the weekly massage or daily stretching, again, do have their place, but unfortunately, only focus on masking the issue. What we want to do here, to truly rectify those tight areas, is the opposite. We want to deal with what’s going on. We want to deal with the why. The how.
There’s only so long masking the issue will be a viable answer before you find yourself on the wrong end constantly seeing osteopaths, chiropractors, masseuses, just to keep slightly on top of it all. The reality of this situation is that, much like the ouroboros, you can forever be chasing your tail.

We need to face the situation head on. We need to rectify those tight, niggling and perhaps, painful areas, for good. To do this, we can incorporate this three step protocol.
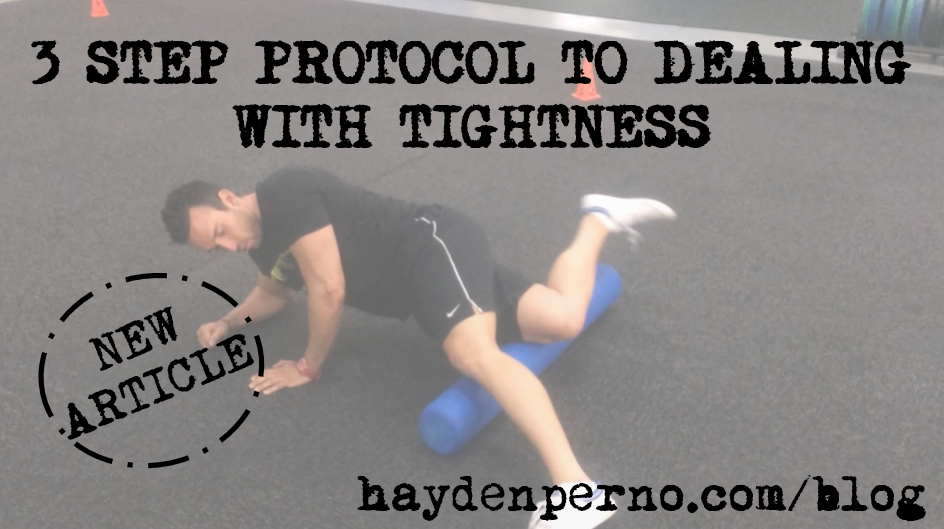
Step 1: Release
Locating a tight or niggling area is an easy task to say the least. And once you do locate or choose an area to address (let’s face it, there’s probably more than one), following this up with a simple release drill through the use of a foam roller or a baseball is even simpler.
This can be done by placing the baseball, for example, on the affected area, and slowly moving it around, pausing on certain painful spots and coupling that with deep breathing.
Check out the videos below to see a foot release and a hamstring/calf release drill in action.
Once you give your body some relief from those overly tight areas, we can next tell these areas to switch off, leading to…
Step 2: Activate
You know those tight areas you deal with every day? Well, most of the time, these areas can be so switched on, so tight, that the reason behind them being so overly tight, or what is known as sympathetic tone, is actually due to other areas of your body not performing their role effectively.
If you, say, have tight hip flexors, then perhaps the areas surrounding that zone – like the glutes, and more specifically, the external rotators of the hip such as the piriformis and the quadratus femoris, along with the anterior core (i.e. dem abz, bro) – are leading to those hip flexors taking all the load.
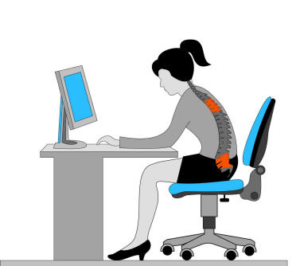
To further magnify what is going on, your sedentary habits, your lower back rounding, and overall, your general posture and movement habits day-in and day-out, can add to the cause.
But, once we address these tight areas by releasing them in Step 1, we can then activate those inactive (or, lazy areas) that should be doing more of the work. And sticking with the tight hip flexor scenario from above, we can hit some of those main areas that are typically inactive or lazy, via an insanely simple drill: the plank.
This exercise might seem like an unlikely candidate in the search for an activated and tight-free body, but the secret of this exercise is in the brace. By squeezing the glutes, legs, abs, and the rest of your body, you are firing up and activating all those lazy areas, leading to them waking up and actually performing their respected role, leading to the relaxation of those ridiculously tight hip flexors and adductors.
To complete this holy trinity, we next want to ensure that those areas that were so cooped up earlier, struggle to become angry once again.
Step 3: Strengthen
After releasing and activating, we next strengthen the areas around the previously affected areas. Again, sticking with the classic hip flexor story from above, along with flaunting our knowledge of the areas that aren’t doing their job (the glutes, the abs, and the external rotators of the hip), and coupling that with our awareness of our daily habits, movements, posture, etc., we can help the situation by hitting some good ol’ fashioned large compound movements.
And, in this case, we can look towards two of the most simplest exercises known to humans: the goblet squat and the deadbug.
WRAP UP
While of course this is a very basic and introductory overview of how one can analyse and rectify some of their tight, niggling, and/or painful areas, it certainly is a start. Keep in mind that this three-step protocol doesn’t always guarantee that those tight areas will stay away. Life happens after all, and there are many factors that can play a part in leading you back down the rabbit hole.
In saying this, however, incorporating this protocol and approach to areas of your body that you deal with, can ensure a much higher chance of you staying on top of it all, without simply falling back on just masking the issue.
If you’re interested in getting on top of your own tightness and lack of mobility from a daily desk job, check out my Office Worker Program. Click the image below to find out more.
Related articles:
Expectations vs. Reality: Injuries and Health
Dealin’ With DOMS Part 1/3
Learn How to Plank Properly
Glutes For Days
The Tail Tuck